
Enable SHELL in Windows 10
Step 1:
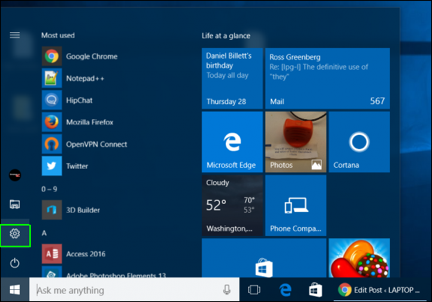
Navigate to Settings.You can get there by clicking the gear icon on the Start menu.
Step 2:
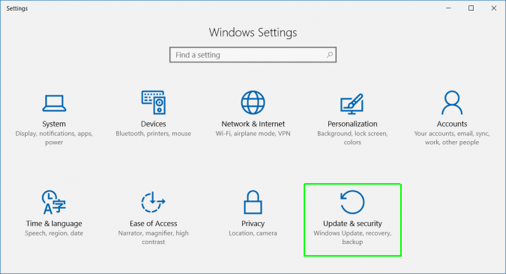
Click Update & security.
Step 3:
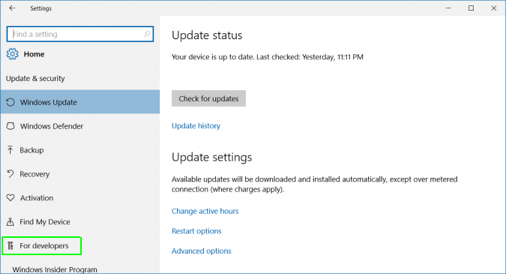
Select For Developers in the left column.
Step 4:
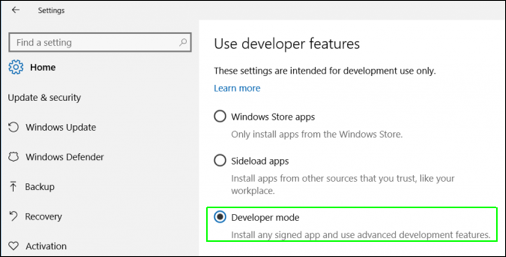
Select Developer Mode under “Use developer features” if it’s not already enabled.
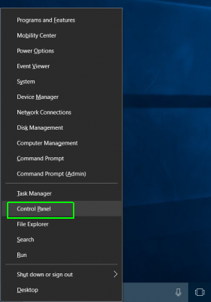
Step 5:
Navigate to the Control Panel (the old Windows control panel). You can get there by hitting Windows Key + X and selecting Control panel from the pop-up menu that appears.
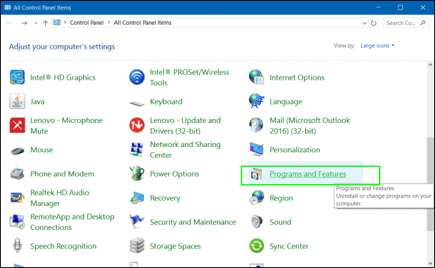
Step 6:
Select Programs and Features. If it’s not visible, make sure you select “Large icons” from the “View by” menu.
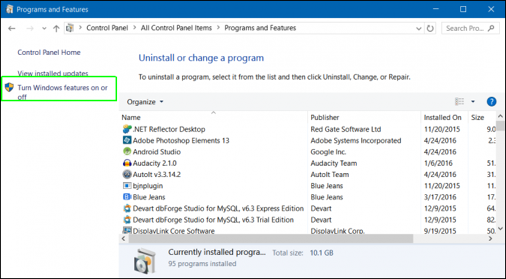
Step 7:
Click “Turn Windows features on or off.”
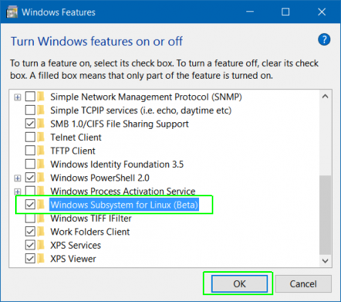
Step 8:
Toggle “Windows Subsystem for Linux” to on and click Ok.
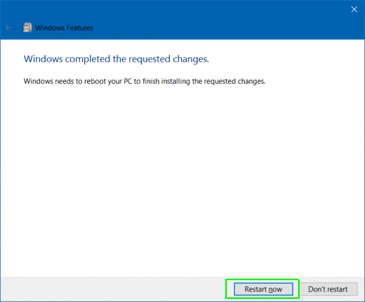
Step 9:
Click the Restart Now button.
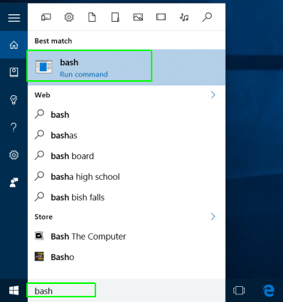
Step 10:
Search for Bash in the Cortana / Search box and click its icon.
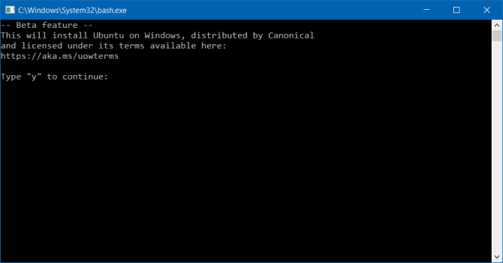
Step 11:
Type “y” and hit Enter when promoted to install Ubuntu. The system will then take a few minutes to install Ubuntu in the command prompt window.
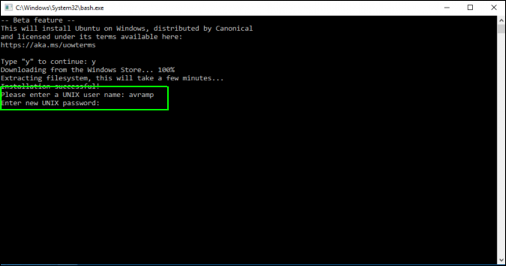
Step 12:
Create a username and password.
You can now use the Bash shell as if you were on a a computer with Ubuntu installed as its primary OS. There are a few command line apps built-in, including the vi and pico text editors, and you can add more by using the apt-get command. There’s also a program which allows you to run windowed Ubuntu apps in Windows 10.